
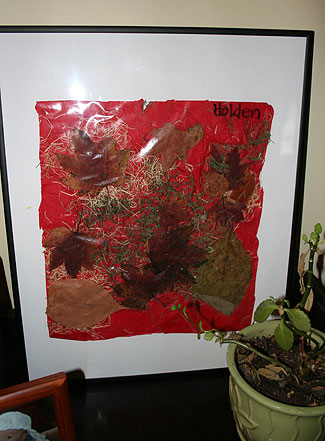
One crafty mama was looking for a fun, easy activity to do with her little guy, so I thought I’d share this one. I got the idea from a project that Holden brought home from preschool and seemed great for the 2+ crowd (unless your 2-year-old is into sticking the contact paper onto her newly-grown hair like mine is).
Supplies:
Clear Contact paper – I bought a large roll at our local grocery for about $6 that will probably last our lifetime (considering it’s vinyl, will probably outlast us as well)
Tissue paper
Found objects – we’ve used leaves, flower petals, moss, sticks, sand, glitter, paper, fabric scraps, seed beads but really, anything small enough to stick to the paper works!
Step 1: cut contact paper
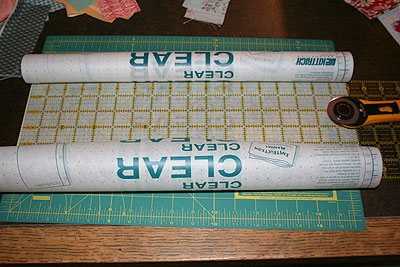
I cut ours to about 12 by 18 inches. If you think you might frame it, keep that in mind when you’re making the initial cut. Oh and I used my straight edge and rotary cutter. Bad for the blade, I know, but much more fun than scissors.
Step 2: tape contact paper sticky side up onto table.
(I took pictures of this step but much to my novice photographer amazement, clear contact paper taped to a table does not a picture make. Go figure).
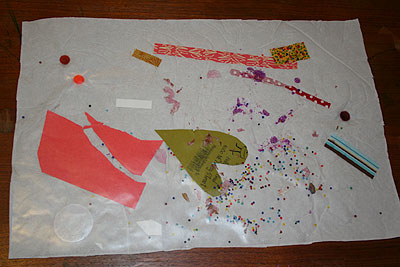
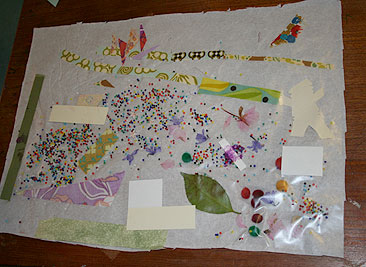
Step 3: stick away! Be sure to leave some areas of the contact paper exposed to adhere to the tissue paper.

Step 4: place tissue paper on top of the contact paper + objects. Press to adhere to the exposed areas of contact paper and trim. Or, use another sheet of contact paper if you want the back and front to be seen (which would make a cute mobile!)
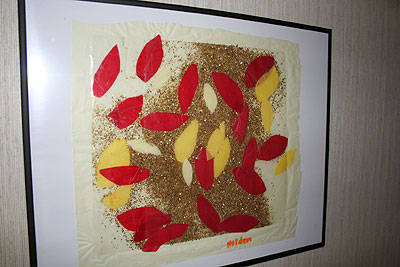
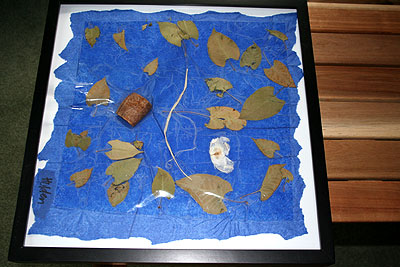
Step 5: ooh and ahh!
The kids had fun with the whole reverse image thing, seeing the "backside" of their work.

Esme, being two and lacking good judgment in the "appropriateness of found objects" category (leaves, flower petals = good; socks = not so much) needed quite a bit more supervision than 4-year-old Holden. But she LOVED touching the sticky paper, and had a lot of fun sticking stuff on and peeling them off.
Happy sticking!


4 comments:
Great tutorial! I love the glitter and the use of found objects. We will do this tomorrow, now will you plan our menu for the week?
Blurt moment - for a second I was jealous of "crafty momma" until I clicked on the link. SMILES.
Great idea! Thanks for the tutorial. I think we'll try this!
Hello! I love this project idea and have featured it on my blog under today's post titled Tuesday Tumblr:
http://www.camilledawn.com/2010/06/tumblr-tuesday.html
It's such a fun idea - definitely something I plan to do this summer with all the nature bits my daughter collects now that we're outside more - I hope by sharing the link others will be inspired too!
Camille
mother★lode
www.camilledawn.com
Hi nice reading yoour blog
Post a Comment